Un equipo que contribuye al bienestar: El Departamento de Partes de Triple A Plaza
Autor: Juan Hernández
En Triple A Plaza, creemos que el bienestar de nuestros clientes comienza con la tranquilidad. Esa tranquilidad se construye cuando saben que sus electrodomésticos, esas herramientas esenciales del día a día, están en buenas manos. Detrás de cada reparación exitosa, de cada sonrisa de satisfacción y de cada hogar que vuelve a la normalidad, hay un equipo comprometido que trabaja con precisión, pasión y propósito: el Departamento de Partes.
Más que un área técnica, es un departamento que mantiene en movimiento la promesa de calidad que distingue a Triple A Plaza. Cada tornillo, cada circuito y cada pieza reemplazada representa un eslabón en la cadena de confianza que une a nuestros clientes con la empresa. Sin su labor silenciosa pero constante, nuestro servicio de reparación no podría ofrecer la excelencia y rapidez que nos caracterizan.
Un equipo que da vida a las soluciones
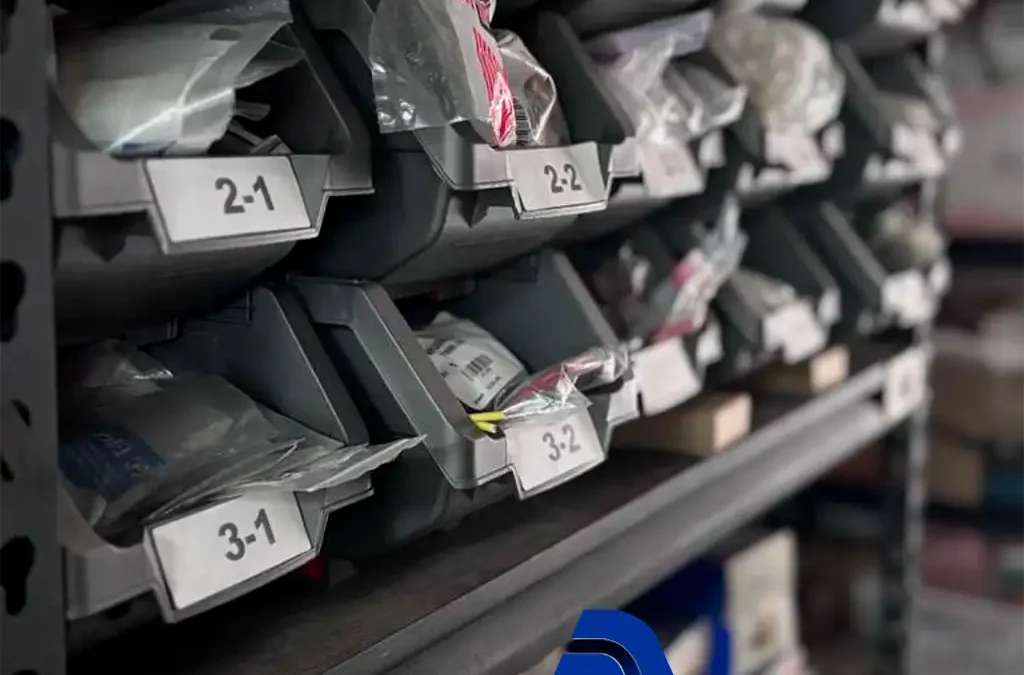
El equipo de partes no solo se encarga de identificar, almacenar y suministrar componentes. Su trabajo va mucho más allá: implica conocimiento técnico, organización impecable y un compromiso genuino con el servicio. Detrás de cada pedido atendido hay una historia, un refrigerador que guarda los alimentos de una familia, una lavadora que alivia la rutina de una madre trabajadora o una estufa que mantiene el calor en un hogar.
El equipo de partes no solo se encarga de identificar, almacenar y suministrar componentes. Su trabajo va mucho más allá: implica conocimiento técnico, organización impecable y un compromiso genuino con el servicio. Detrás de cada pedido atendido hay una historia, un refrigerador que guarda los alimentos de una familia, una lavadora que alivia la rutina de una madre trabajadora o una estufa que mantiene el calor en un hogar.

Cada pieza gestionada por este departamento es una pieza de bienestar para alguien más. Por eso, el equipo entiende que su labor no termina al entregar un repuesto, sino al contribuir a que un hogar recupere su ritmo y comodidad.
Excelencia, compromiso y pasión
El Departamento de Partes de Triple A Plaza se distingue por tres valores fundamentales: excelencia, compromiso y pasión.
- Excelencia, porque cada componente debe cumplir con los más altos estándares de calidad, garantizando que el cliente reciba no solo una reparación, sino una mejora en el rendimiento de su electrodoméstico.
- Compromiso, porque el trabajo no se mide solo en piezas entregadas, sino en soluciones efectivas que generan confianza.
- Pasión, porque quienes integran el departamento saben que su esfuerzo tiene un impacto real en la vida de las personas.
Esta combinación de valores convierte al equipo en un motor de progreso dentro de la empresa y en un pilar indispensable del servicio integral que ofrece Triple A Plaza.
Un engranaje clave para el bienestar
En una compañía donde cada área cumple una función vital, el Departamento de Partes es el punto de conexión entre el diagnóstico técnico y la reparación efectiva. Sin su eficiencia, conocimiento y organización, el proceso de atención al cliente se vería incompleto. Gracias a su trabajo, los técnicos cuentan con los repuestos adecuados, los tiempos de respuesta se reducen y la satisfacción del cliente aumenta.
Por eso, reconocer su labor es reconocer el esfuerzo de quienes hacen posible que Triple A Plaza cumpla su misión: brindar bienestar a través del servicio. Este departamento no solo mueve piezas, sino que mueve propósitos. Su labor diaria es una muestra de que la excelencia se construye desde los detalles, desde lo invisible, desde aquello que, aunque muchos no vean, sostiene el funcionamiento de todo.

Un futuro impulsado por la innovación y el trabajo en equipo
En Triple A Plaza miramos hacia el futuro con optimismo. Sabemos que la tecnología avanza, que los electrodomésticos evolucionan y que cada día surgen nuevos desafíos. Pero también sabemos que contamos con un equipo preparado, que aprende, se adapta y sigue adelante con determinación.
El Departamento de Partes seguirá siendo un aliado esencial en este camino. Su capacidad para innovar en procesos, optimizar inventarios y mantener la calidad será clave para continuar ofreciendo un servicio de reparación ágil, confiable y humano.